
March 14, 2009
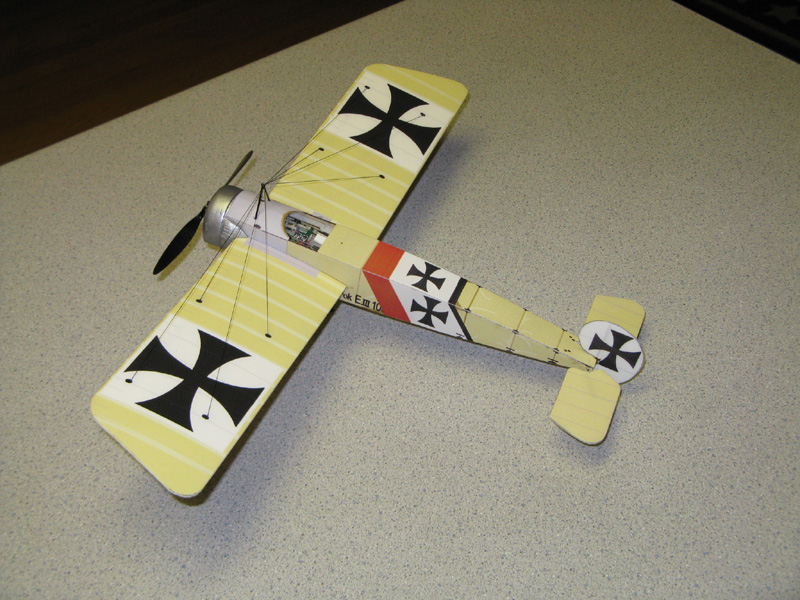
Flights of the finished E-III showed that it was too tail heavy to fly, even moving the batteries and receiver brick all the way forward. They're just not the weight equivilent of a rotary engine I guess. Moving this project to the 'graveyard' for now. The E-III won't balance properly without a significant re-design. I'll probably return and re-build this as an E-I (which had a shorter tail) but that's another project for winter.
February 11, 2008
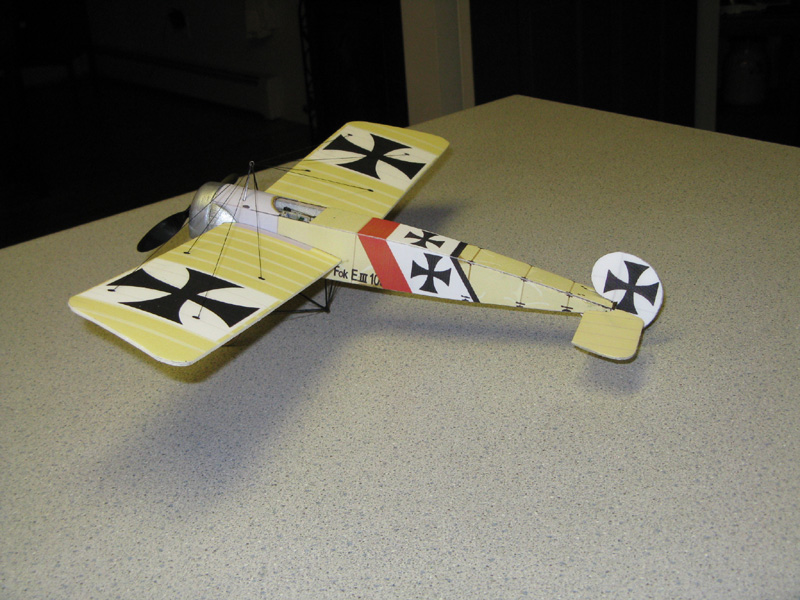
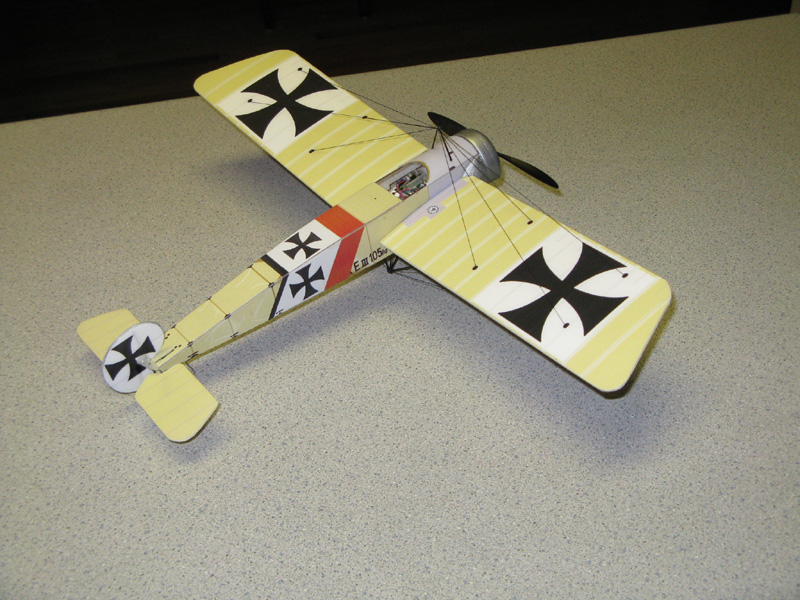
Finished up the wings, rigging, closed up the fuselage and started working on the wheels. Just need to put paper cones on the wheel hubs, and I'm ready to fly.
Here's a walk-around video:
February 11, 2008
Finished hooking up the linkages for the R/C controls. Here's a movie of them
in action:
Direct download: fokker_test.avi.
February 10, 2008
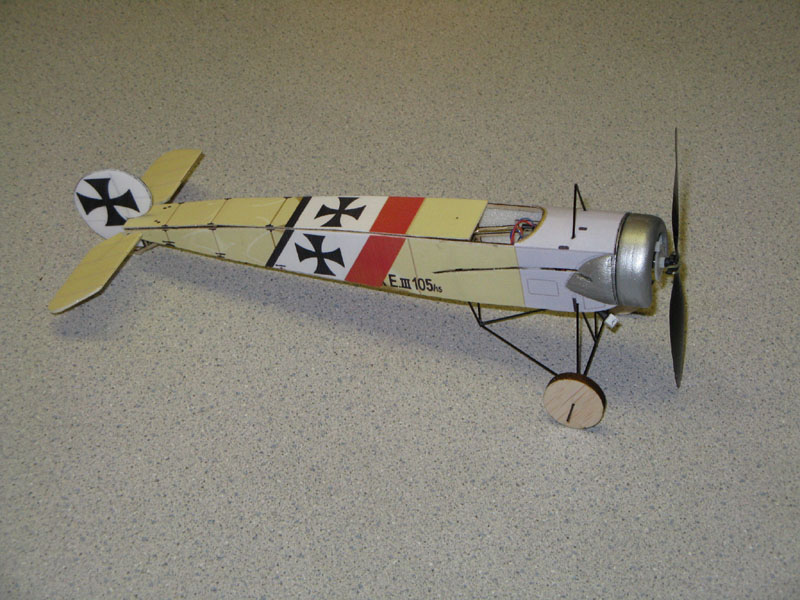

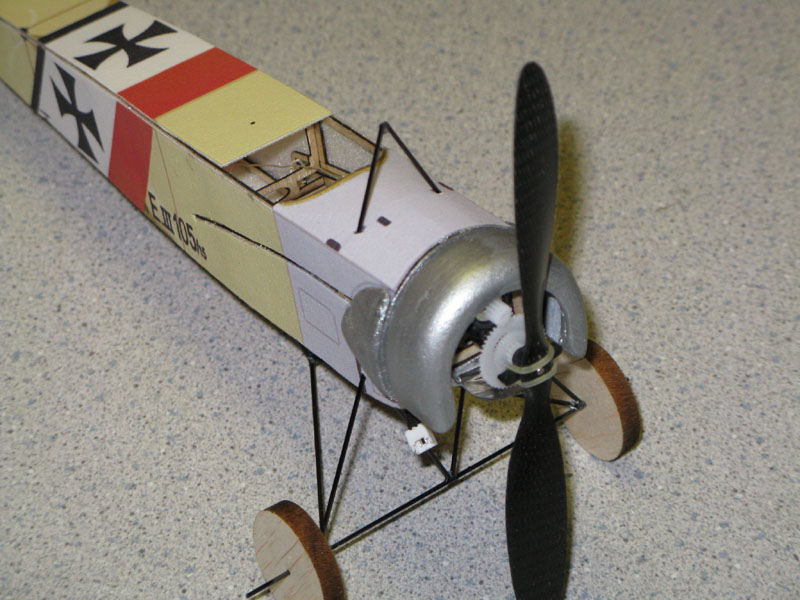
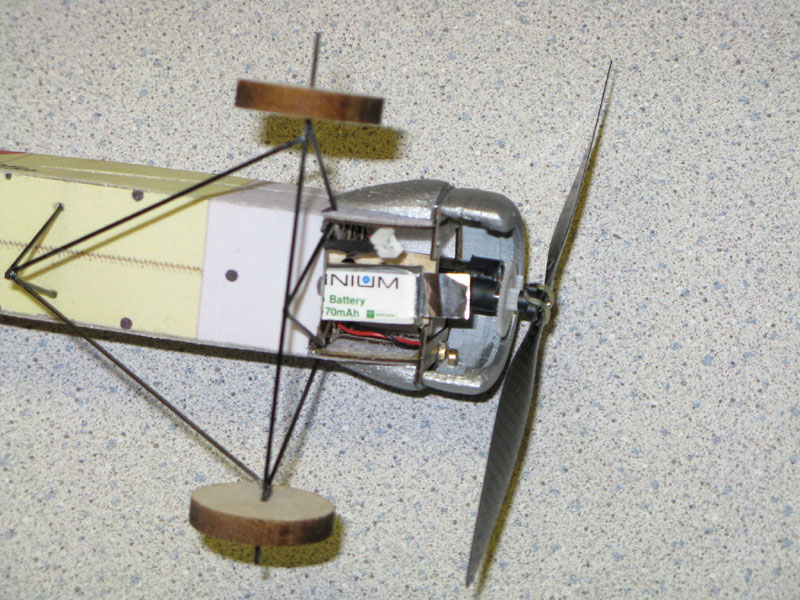
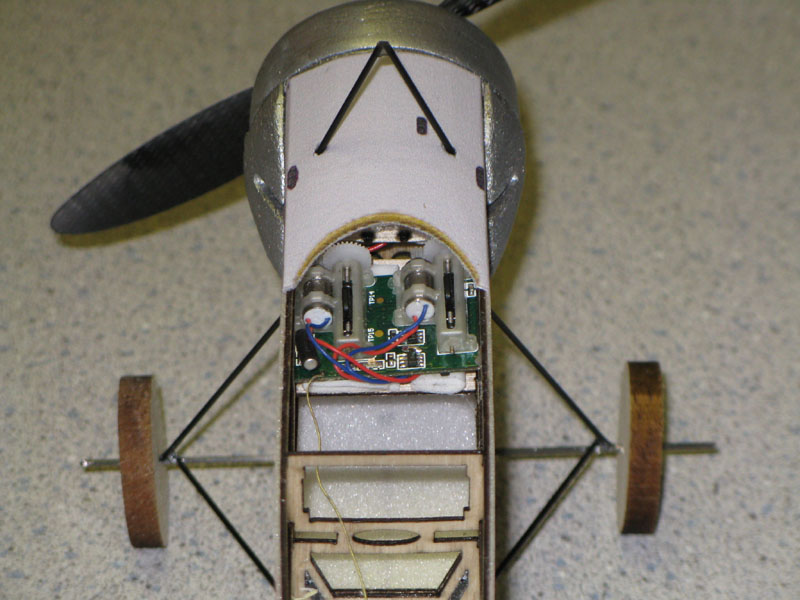
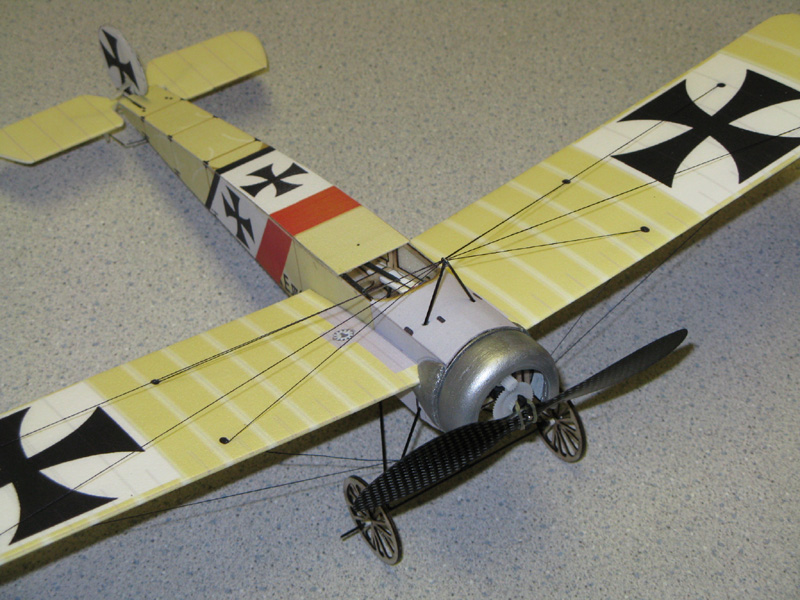
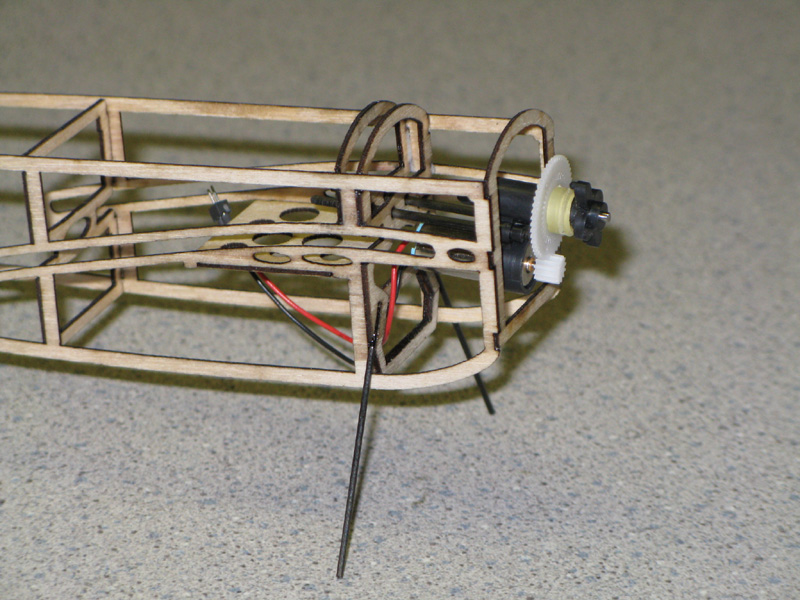
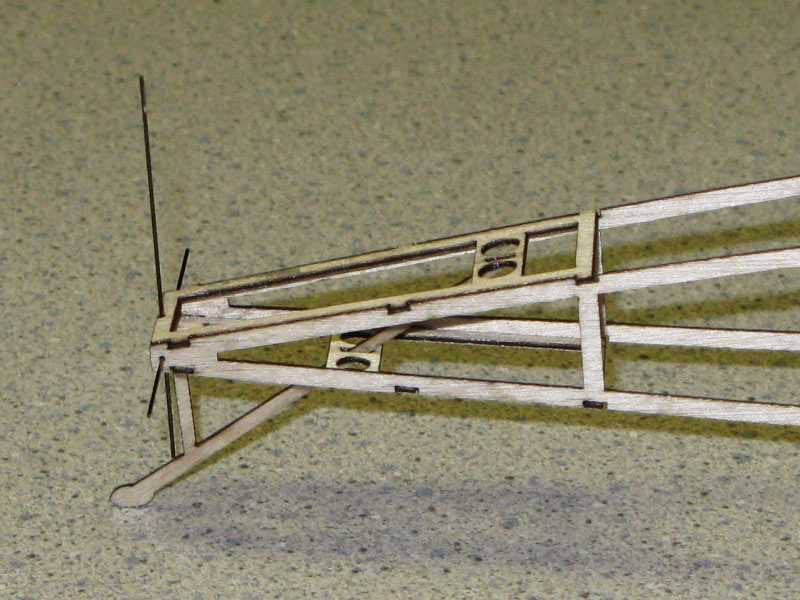
Worked more on the E-III. Finished the laser work for the fuselage including mount points for all the landing gear and rigging trusses, pushrod exits and finally worked out the battery mount. With everything done it was time to start putting it together. I'm still waiting on a shipment of foam for the wings, but I have the fuselage mostly assembled and the receiver, motor and battery mount all installed. The top decking is not glued on yet as I still have to run the pushrods. The cowl is made of balsa and is held on with tiny magnets. Also please ignore the wheels, they're just place holders to keep the landing gear structure from getting hangar rash. Proper scale wheels will be created for this.
February 6, 2008
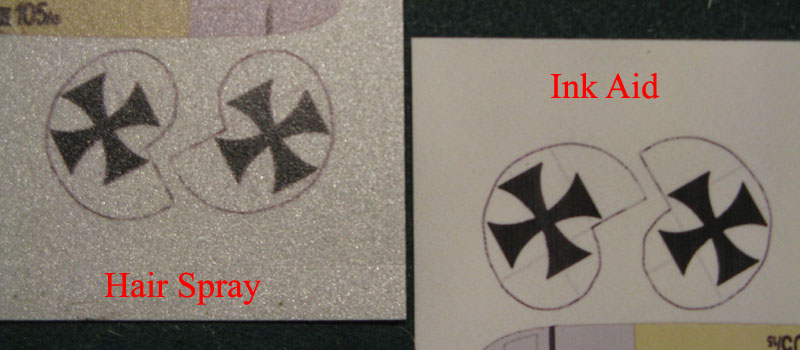
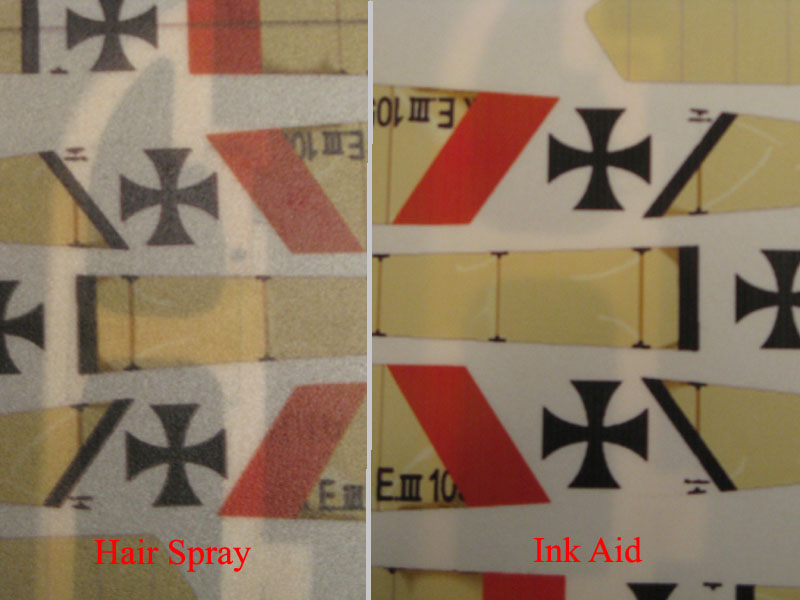
I tried airbrushing Ink Aid on .025 and .05 Durobatics and then printing on it. All I can say is WOW! There's NO COMPARISON between hair spray and Ink Aid. I'm not sure what's in Ink Aid, but I'd bet there is some clay component (like quality paper has) or some other inert opaque material. The ink aid goes on clear, maybe a touch milky, but dries bleach white. You can see when it dries where you missed as the gloss from the foam shows through. I did a base dusting coat, a second medium cover coat, then a third touch-up coat to hit just the places I missed. Once dry the .025 becomes almost 100% opaque and the .05 becomes as opaque as a sheet of printer paper.
Weight comparison of both on a 8.5"x11" sheet of Durobatics .025" thick sheet:
* I'm expecting the Ink Aid treated sheets to continue to lose weight as the ink and the Ink Aid continue to fully dry out. I'll re-weigh after 24 hours to see what the final weight is of the treated and printed-on sheet
The photos don't do the difference justice, the camera doesn't show the opacity of the hair-spray foam very well. The difference is MUCH more than the photos show.
Here's the large bummer for me...my printer can print to .025 Durobatics, but won't feed. .05 (which I need to print on to do the wings on a project I'm working on).
February 2, 2008


http://www.rcgroups.com/forums/showpost.php?p=7501138&postcount=54
http://www.rcgroups.com/forums/showpost.php?p=7501138&postcount=62
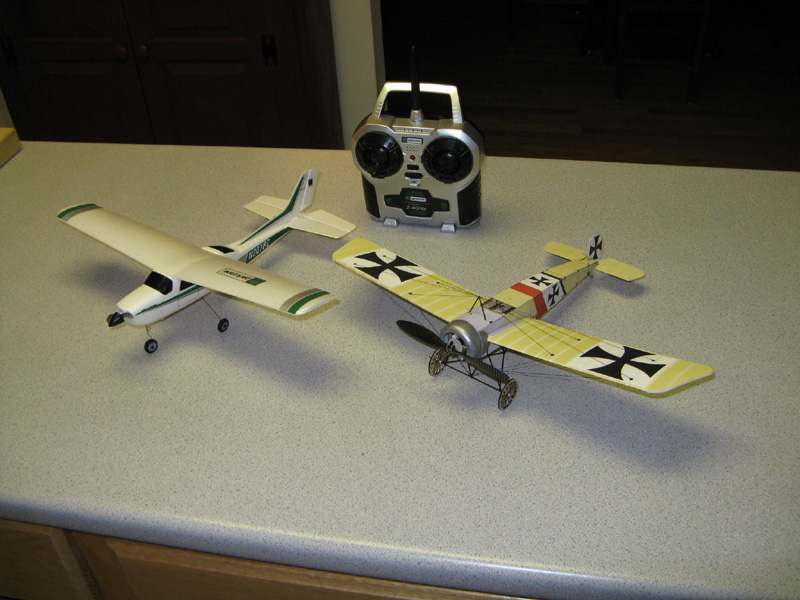
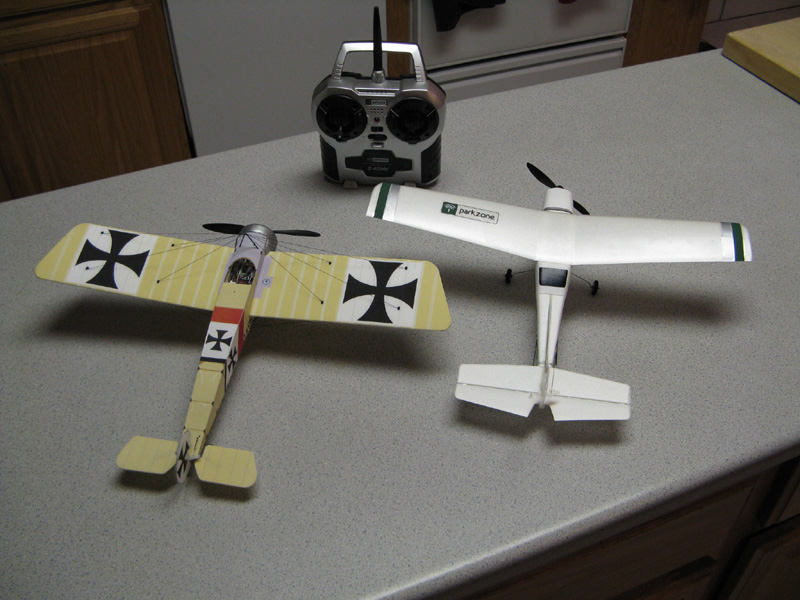
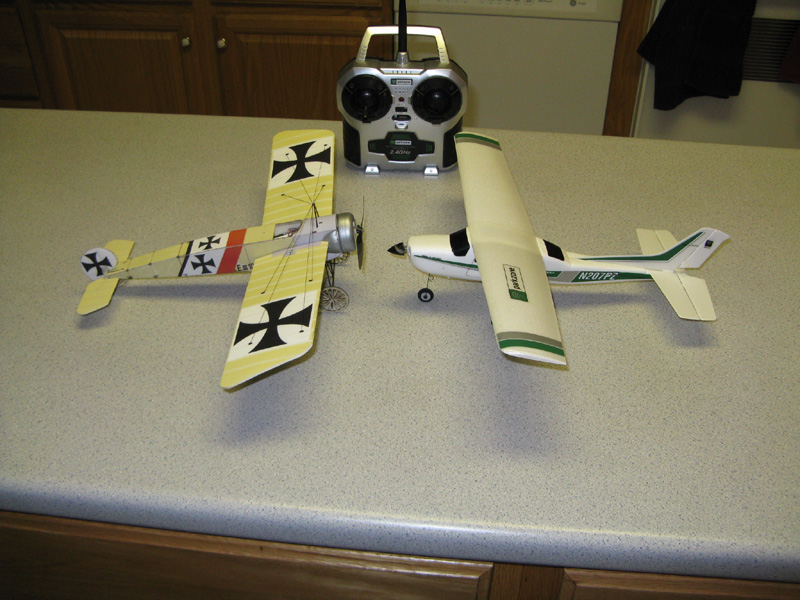
This plane will use the receiver brick from the Kyosho Cessna: http://www.rcgroups.com/forums/showthread.php?t=720179.
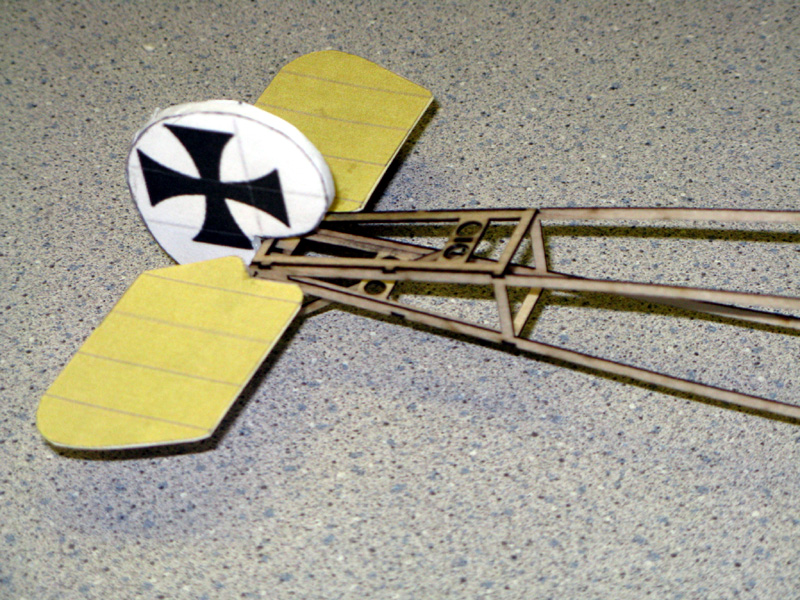
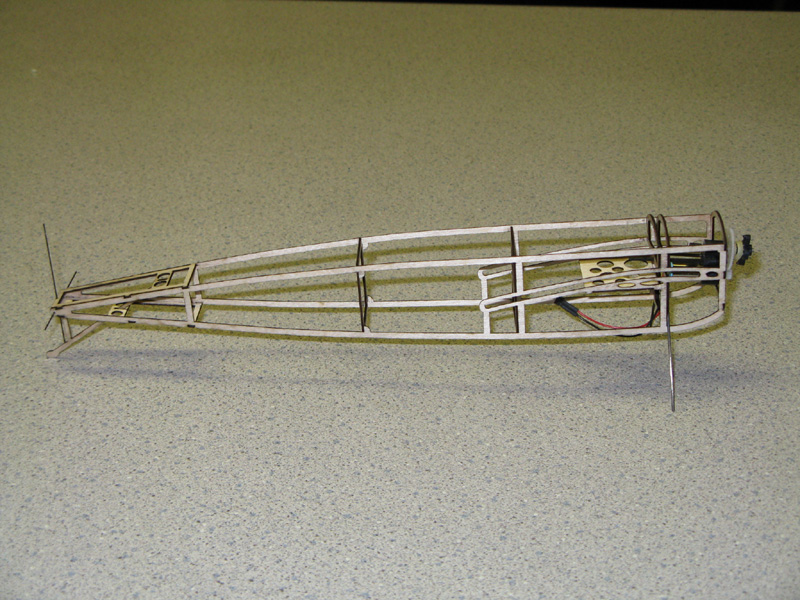
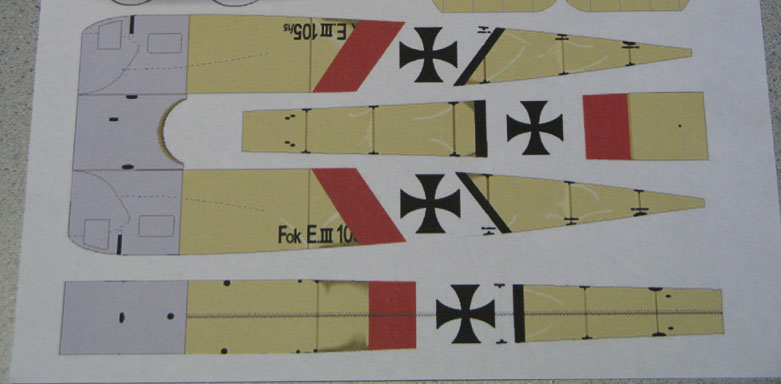
Started out with some free E-III graphics from a cardstock models site. Modified the graphics to prepare them for printing directly to Durobatics foam. Continued on to the CAD work for the 1/32" framework. This is the 11th cutting to get to this point. These small frameworks take a lot of trial and error. Elevator and rudder mechanisms are working, motor and receiver mounts are installed and fitted. I still have to work out the battery mount and cowling.
The photos above with wing, elevator and tail are just mock-ups using cardstock, paper and thick foam to check to make sure everything works, and has proper clearnace. I couldn't resist putting them all on to get a fell for how it will look.
 Return to Al's Electric RC Page